
If Microsoft Teams keeps reinstalling itself on your Windows PC and running itself on boot-up, there is a solution. Microsoft Teams cannot be uninstalled the normal way: it must be uninstalled twice.
It’s silly, but that’s how it works. Specifically, you will have to uninstall both the “Microsoft Teams” and the “Teams Machine-Wide Installer”. If you have just uninstalled the Microsoft Teams app, the device-wide installer will reinstall it every time you sign in to your PC. To completely uninstall Teams, you must remove both apps.
On Windows 10, go to Settings > Apps > Apps & Features to delete both.
Under Apps & Features, find “Teams”. Remove Microsoft Teams as well as the Teams Machine-Wide Installer.
You can also use the classic Control Panel to uninstall these apps. Head to Control Panel > Programs > Uninstall a Program, search for “Teams”, and Remove Microsoft Teams as well as the Teams Machine-Wide Installer.
you are done! The next time you sign in to your computer, Teams won’t automatically reinstall itself. It will remain deleted from your system until you intentionally download and install it.
Teams will be uninstalled as well if you delete Office, according to the Microsoft website. In many circumstances, Microsoft Office seems to install both Teams and the Teams Machine-Wide Installer automatically.
Uninstall MS Teams From Windows Settings
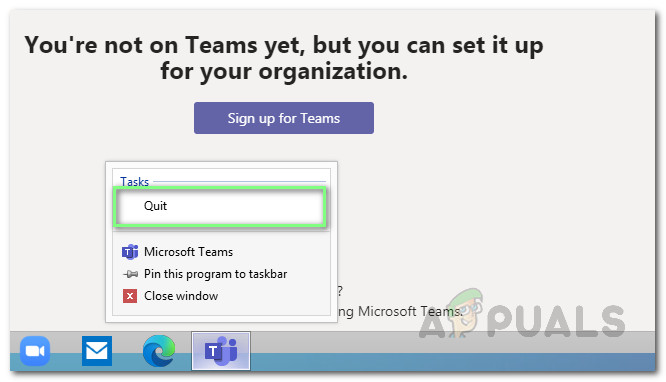
- Close MS Teams by right-clicking the MS Teams icon in the taskbar and selecting Quit. This will close down all the background ongoing processes related to MS Teams.

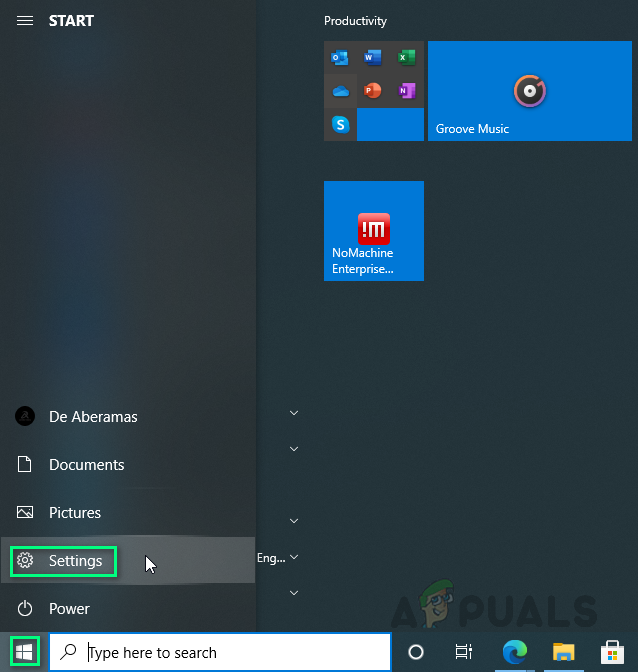
Quitting Microsoft Teams - Click Start > Settings.
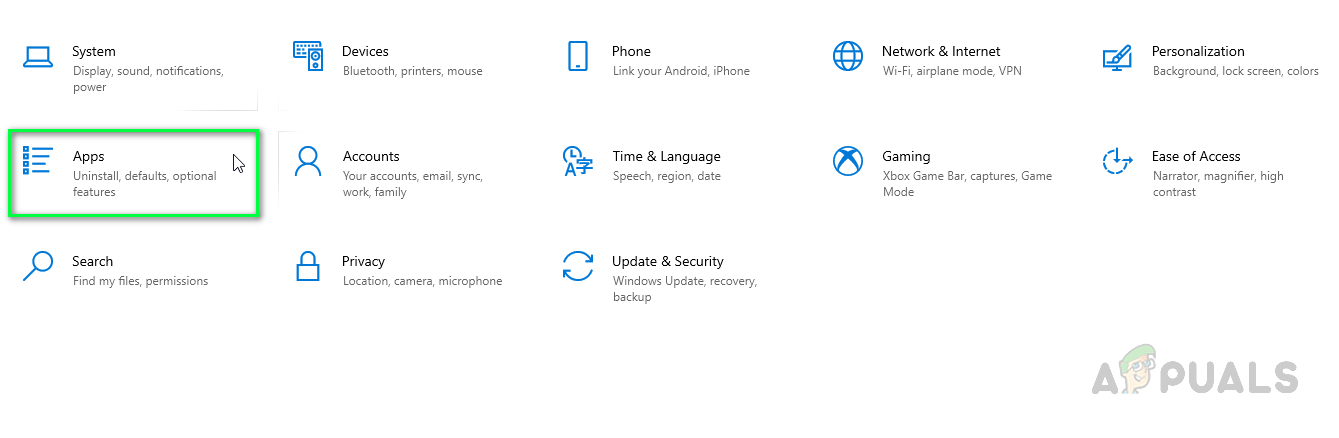
Opening Windows Settings - Select Apps. This will open applications-related settings, including settings for Apps & features, Default apps, offline maps, etc.
Opening Apps Settings - In the Apps & features section, search for Teams. Highlight Microsoft Teams and select Uninstall. This will open a pop-up window, select uninstall again to confirm the action.
Uninstall Microsoft Teams - Similarly, uninstall Teams Machine-Wide Installer as described in step 4. MS Teams have now been removed from your PC completely.

Method 2: Uninstall MS Teams from Control Panel
- Close MS Teams by right-clicking the MS Teams icon in the taskbar and selecting Quit. This will close down all the background ongoing processes related to MS Teams.
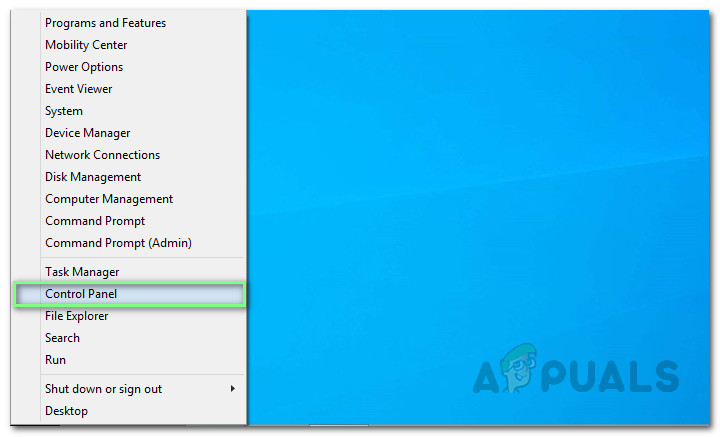
- Right-click on Start and select Control Panel to open it.
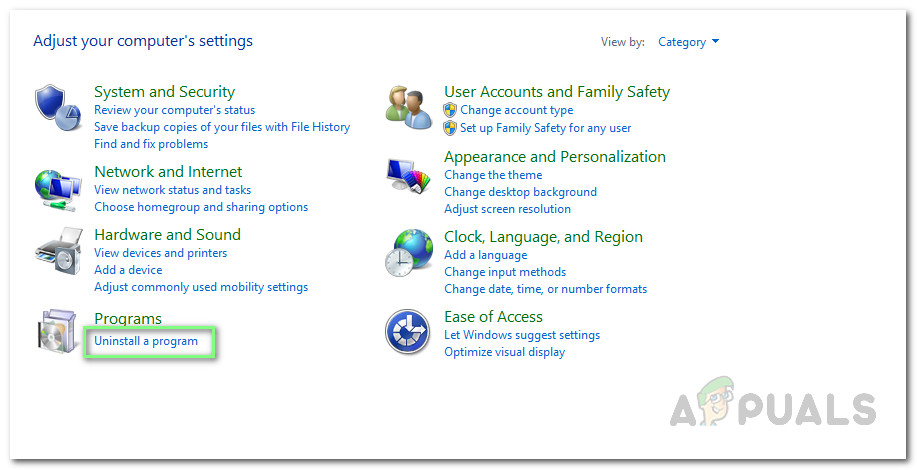
Opening Control Panel - Select Uninstall a program under the Programs section. This will open a window including a list of all installed programs on your PC.
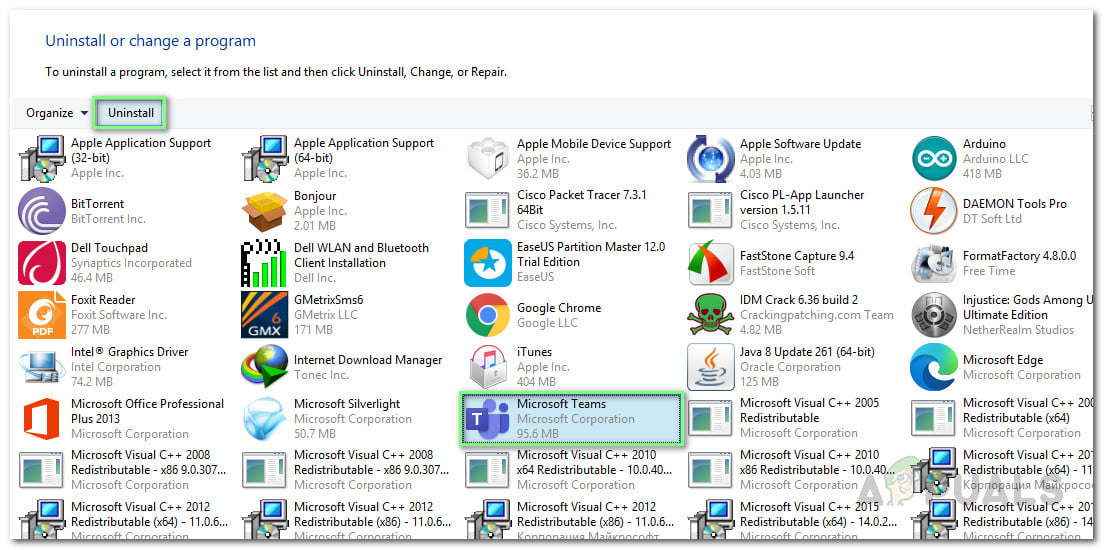
Opening Installed Programs List - Select Microsoft Teams from the list of installed programs and click Uninstall. This will start uninstalling MS Teams, and wait until the process is completed.
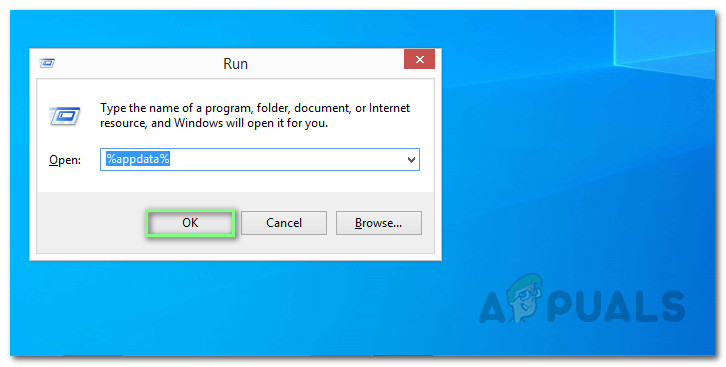
Uninstalling Microsoft Teams - Press Windows + R keys on your keyboard to open the Run dialog box. Type %appdata% and click OK. This will take you to a hidden folder named AppData that includes all application’s data files.
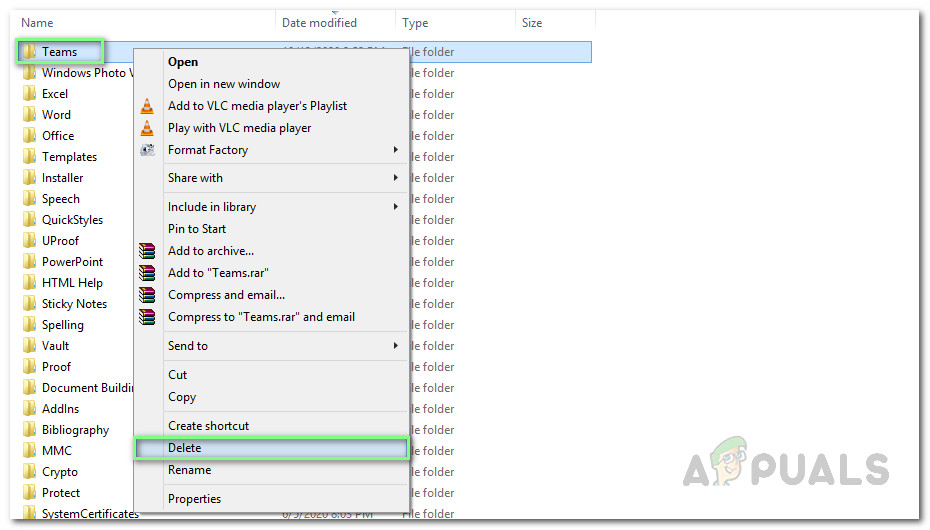
Opening AppData Folder - Open the Microsoft folder, right-click on the Teams folder, and select Delete.
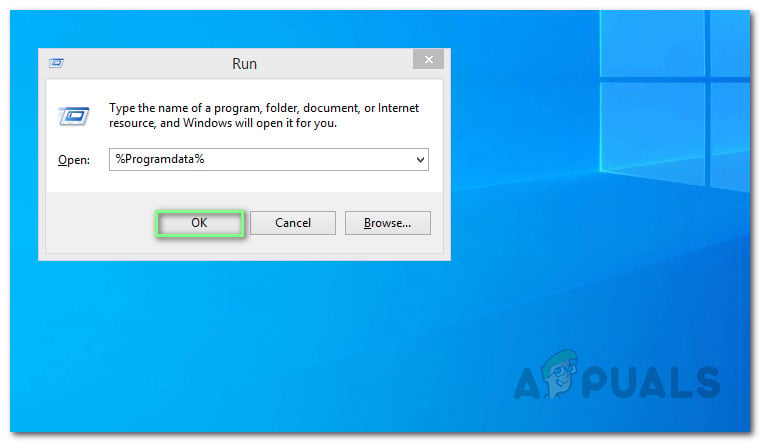
Deleting MS Teams Folder - Close all windows and again press Windows + R keys on your keyboard to start Run. Type %Programdata% and click OK.
Open ProgramData Folder - Repeat step 6. Now you have finally uninstalled Microsoft Teams completely from your PC.
Notes: MS Teams will also be removed if Microsoft Office as a whole is uninstalled. Also, if you reinstall or perform an online repair in Office, MS Teams will automatically be Installed.
Additional:
User files, logs, system settings, etc. for MS Teams will still remain on your PC after the uninstallation. If you want to get rid of these junk files as well then please go through the following steps:
- Click Start, search File Explorer and open it.
- Navigate to the following directories one by one by copy-pasting the location addresses in the search bar and delete MS Teams-related folders.
Note: Make sure to put your Windows Account username in the address.