Mount SSD Hard Drive
All our computers need some storage system. Either a hard drive or an SSD, either two devices are necessary for our PC to function. Or even if the time comes when you run out of space and need to mount one of these units. In this tutorial we will see how we should do it, focusing on the case of desktop computers.
Steps prior to mounting a hard drive or SSD
The first thing we must be clear about is what type of mounting our hard drive or SSD will need:
Hard Drives: These are almost always mounted on removable trays, which allow the drive to be conveniently removed from the box.
SSD: they are usually mounted in trays, as in the case of hard drives. But they are smaller trays and their location is usually different.
Assembly tools
As a rule, to mount a storage unit we will only need a Philips head # 2 screwdriver.
Mounting
The procedure to mount the hard disk or the SSD in our box begins with the complete shutdown of our computer from the electrical outlet. You can choose to turn it off only from the rear power switch of the fountain. However, we prefer to heal ourselves in health and disconnect the entire PC from the power outlet.
The next thing is to ground ourselves with our PC. For this, we are going to use an anti-static bracelet. Thanks to it, we will avoid the possible sparks of this type of electricity when handling the components. Remember that you must put the bracelet on one of your arms. While the metal clamp, we will connect it to our box.
Now, it’s time to open the antistatic bag that hard drives are often sold in.
In the case of SSDs, these are usually sold in more traditional cardboard boxes.

With either device properly unpacked, it will also be time to search for the SATA data cable. As you know, this cable is the one that we will use to connect the unit to our motherboard.
To mount the hard drive, will depend on whether we must mount it in a removable bay or in a fixed bay.
In the case of the removable bay, the hard drive is usually mounted in a plastic tray. These usually have pins on their right and left ends, which must be matched with the holes for the mounting screws that the hard drive has on both sides. In this case, we only have to mount our unit like this, and we will not need to use any type of screw to secure it.
In addition, the use of this type of tray helps to mitigate the vibrations that the disc produces when it works.
If we have to mount it in a fixed bay, generally we will have to use screws to attach the disk to the 3.5-inch bay. Although this system, in reality, is more relegated to the use of old boxes. In somewhat more modern boxes, plastic fixings are usually used on their sides that avoid the use of a screwdriver.
Regardless of the clamping mechanism used, it is a good idea to secure the unit from both sides. Not just for one of them. By doing so, we will make sure that the vibration of the hard disk when working, does not generate more noise.
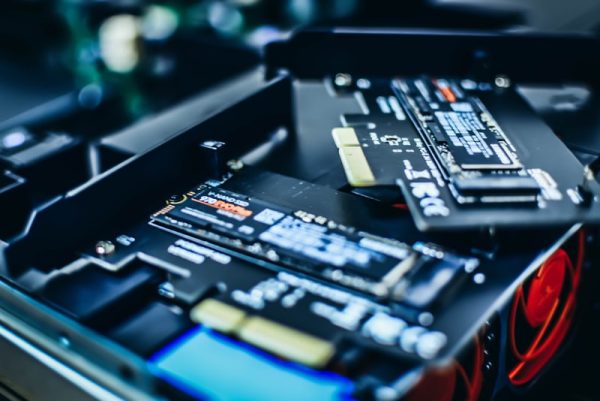
For SSDs, the mounting procedure is similar.
If it is done in a plastic tray, these usually have holes in their lower part. These holes are what we will use to hold our 2.5-inch drives. Because these types of units have four threaded holes in their lower part.
Metal trays are typically located at the rear of the motherboard mounting tray. But the fixing of the SSD to the tray is also usually through the holes we just mentioned.
Now we must connect the SATA power cable to the power supply. We will do this using the corresponding connector on the hard drive or the SSD. This connector is shaped like a horizontal “L”, but the stick of the “L” is quite long.
And, now we only need to connect the SATA data cable, both to the storage unit and to the motherboard. As you can see in the previous photo, this cable also uses an «L» shaped connector. But the stick on the “L” is considerably shorter than the stick on the power connector.
Remember, therefore, that these connectors have a position. And if you force them, it is very possible that you will break the plastic connector. Either the motherboard or the storage unit.
The only thing missing now is to reconnect the power cable, turn on our PC and configure the new storage unit on it.
Small recommendations when mounting
We simply recommend that you place the tower on a table and not mount the storage disk from the ground, since it is not only more comfortable to work with, but will also prevent your PC from getting dusty. Also, by the way, take the opportunity to clean the PC thoroughly, since between changes of the hard disk a large amount can accumulate inside.